Halloween Nails
I used 4 different polishes and a top coat.

For my Pointer, thumb and pinky I used Sinful Colors in Big Daddy

Polish your nails in the above mentioned colors and order. After the nails are dry you can begin the actual design of the skull.
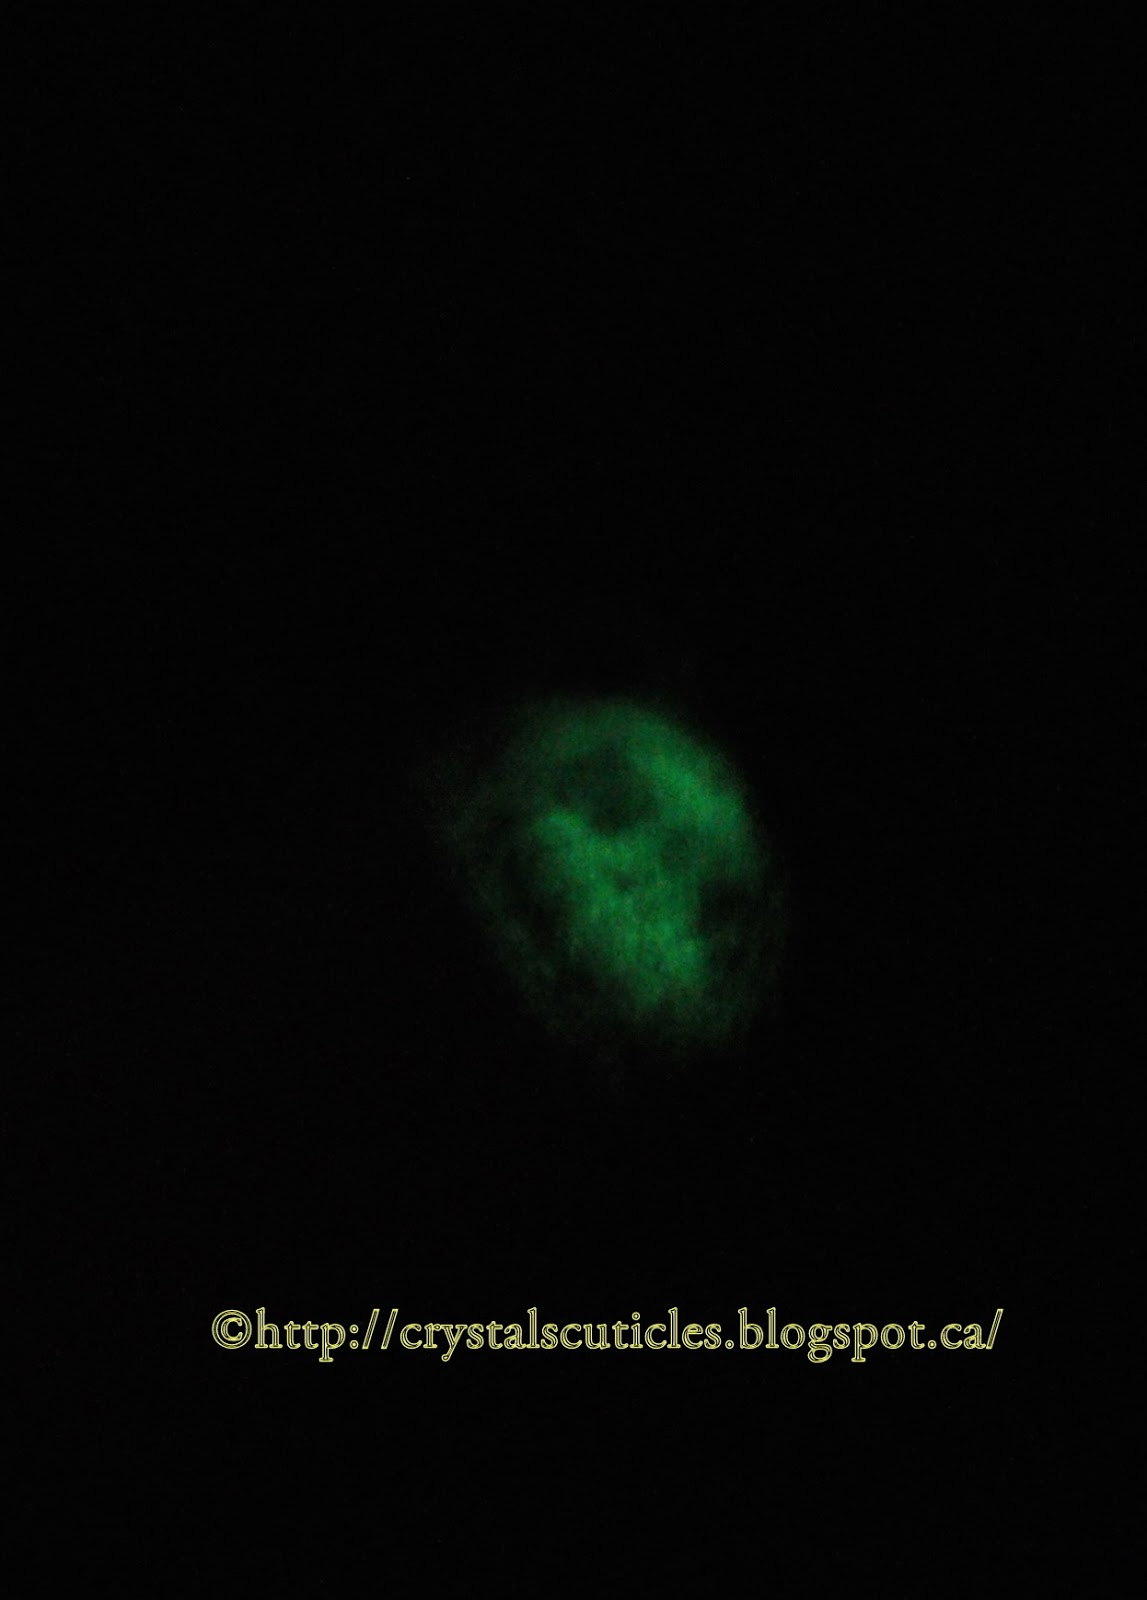
For the skull I painted the nail in the snow and then topped it with the glow in the dark polish (this polish does not glow very well it needs to be charged frequently to get the glow)
After the nails dried I took my dotting tool (I used a medium size) to draw the eyes
For my middle finger I used China Glaze Snow and a Dollarama glow in the dark.r my middle finger I used China Glaze Snow and a Dollarama glow in the dark.
After the eyes were dried I grabbed my Striper and drew 2 little lines under the eyes (these mimicked the nose) and then drew a line (smiley face) and the opposite way of the "smiley face" you were going to draw a bunch of smaller lines crossing the "smiley face" this mimicked the stitches in their mouth.
After it is all dry you just put your top coat on and away you go.
Simple Easy Peasy
Matte Dark Turquoise Paint Splatter
 First start off using a base coat, I used Pro FX 4 in 1 nail repair. This base coat I find is very helpful to strengthen nails also dries quickly.
 After the base coat is dry we move on to applying the main colour to your nails I used Julep "Ryan" satin finish for my main colour. Leave one bare for the accent colour.
Add accent colour after the rest of your nails are coloured, for an accent I used Julep "Libby"
Once all the base colours are dry you will add the paint splatter nail polish as I call it. The product I used for the paint splatter effect was Sally Hansen Hard as Nails Extreme Wear " Pixel Perfect"

After your paint splatter effect is fully dried add the matte top coat. I used Pro-FX Matte finish.
__________________________________________________________________________________________________________
Camo Nails
As always start with a base coat. I used the Pro FX 4 in 1 nail repair. I tend to use this one because it not only helps the nails but it dries quickly.
You are going to want to start with the darkest colour on your thumb and pinky. For this one I selected Julep "Alaina".
Next you will want to paint your pointer finger. I selected Julep "Teri".
Your middle finger and ring finger you will want to do in a sparkle or irridescent colour. I went with China Glaze "I'm not Lion"
Your hand should look like this.
After all of your nails are dry you will want to start with the camo design. It will be on the middle finger and you will want to start with the middle colour. In this case I used the Julep Teri. Randomly draw lines with your dotting tool. My tools I had are from Cheeky.
Next you will want to add the darkest color. This is where I added the Alaina.Once again just random lines between the first colour but don't cover the entire nail you will still have another colour to add and you will want to see the sparkle underneath.
Then finally you will add the third colour. For this one I used Julep "Fifi" After you have all the colours on the nails and they are dry you can top coat them. I used Seche Vite Fast Dry Top Coat.
The finished product would be something appealing to the eye. Keep on for a bit and guaranteed people will have something to say about all your hard work.
__________________________________________________________________________________________________________
2 Tone French Tip (with Design)
The first thing you want to is put a base coat. ( I used Pro FX Nail Repair)
Select your colours
Cut out the tape to the design you want. (I used crafting scissors)
Polish your nails with 2 coats of the base colour (I used Essie "Under Where" for this manicure)
After the base coat is completed if you are going to top it with a sparkle put 1-2 coats of the sparkles polish. (I used Wet N Wild Mega Rocks "At Will Call")
Let dry completely
After the nails are completely dry put your tape on the nails so the design is at the tip of the nails (as much or as little as you want)
Polish from the tape upwards to the tip so you will get the design make it at least 2 coats (I used China Glaze Metro Pollen-tin)
Let Dry completely
Peel off the tape and you will see your design.
Top it with your top coat ( I prefer Seche Vite Fast Dry Top Coat it has a great shine and drys fast)


No comments:
Post a Comment